
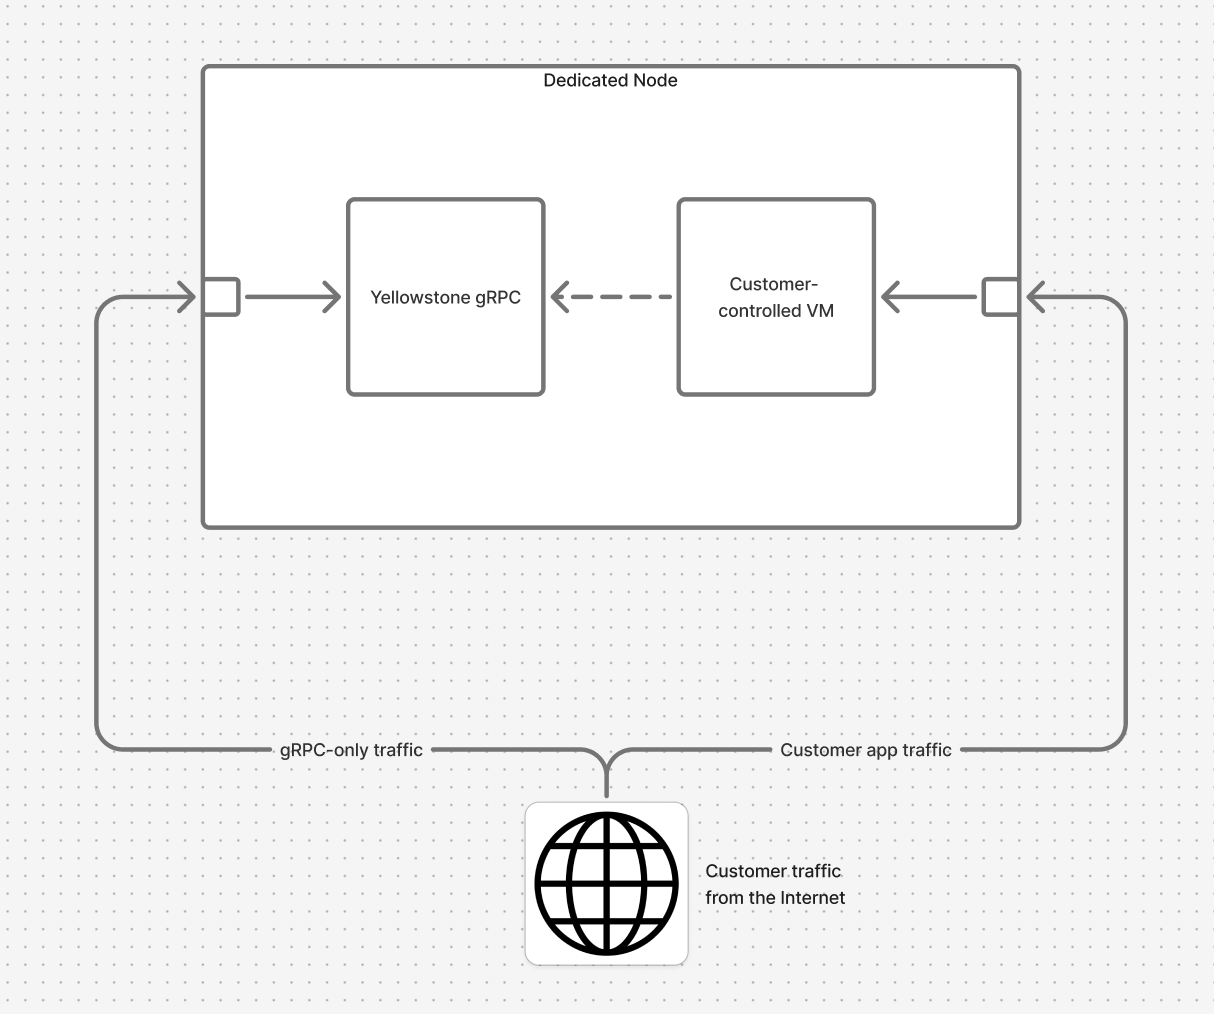
Your zero overhead micro‑VM exposes a clean, one‑to‑one set of entry points while keeping the actual Solana services running on ports inside the host. The micro-VM runs a full Ubuntu 24.04 distribution and Linux kernel, so you get all of the power and control you’re used to with zero latency to the node server.
Moving your workloads to run directly on your dedicated ensures that there is as minimal of latency as possible between your apps, the gRPC streams, and RPC calls that are being done on your dedicated node. Compared to connecting to your dedicated node over the internet, where messages may take milliseconds to arrive, communication between the VM and gRPC is near instantaneous.
Services and Interfaces
You can access the gRPC and RPC features of the Dedicated Node from within the VM using the IP and ports below. You can also interact with the VM from the world using HTTP, HTTPs, and custom ports defined below.
Available services inside of VM
| Service | VM IP:Port | Protocol |
|---|---|---|
| RPC | 172.16.0.1:100 | HTTP |
| RPC WS | 172.16.0.1:101 | WS |
| SWQOS | 172.16.0.1:102 | HTTP |
| gRPC | 172.16.0.1:2083 | HTTP2 |
| Moon Beam | 172.16.0.1:2096 | HTTP2 |
Note that the services are available through 172.16.0.1 and not localhost .
Exposed VM ports
| Port | Note |
|---|---|
| 80 | Standard HTTP |
| 443 | Standard HTTPS |
| 10000-10020 | General purpose |
Default HTTP and HTTPS ports are available, as well as more in the 10000s on which you can host any services you'd like.
Logging into the VM
SSH Access
Port: 10022
Private keys are provided for each node
Once the traffic crosses the VM boundary, layer4 networking configuration forwards traffic with sub-millisecond latency to the Solana processes that continue to listen, so you don’t have to touch your existing launch scripts. Any unused external port above is already wired through to the same port number in the VM—you can bind new services there without further network changes.
SSH lands on the ubuntu user account (key‑only, password‑less sudo), giving you full control over the VM to change networking rules and system configuration.
Basic NGINX routing script
When logging in, you should see a setup-nginx-proxy.sh in your home folder. Running this will create a basic NGINX server to expose things externally as follows:
| Service | Port | Path | Example URL |
|---|---|---|---|
| RPC | 80 | / | http://vibrant-hussar.fleet.hellomoon.io/ |
| WS | 80 | / | ws://vibrant-hussar.fleet.hellomoon.io/ |
| SWQOS | 80 | /swqos | http://vibrant-hussar.fleet.hellomoon.io/swqos |
| GRPC | 2083 | / | http://vibrant-hussar.fleet.hellomoon.io:2083/ |
Run with the following command ./setup-nginx-proxy.sh
Upon completion, the script will also emit a random API key that can be passed via the X-Tokenheader. This will provide some basic security right out of the gate so that your endpoints are not accessible without it.
This is just a basic example to demonstrate how to expose things externally.
Low-latency DNAT routing
When logging in, you should see setup-nat-proxy.sh in your home folder. Run the script using the following command ./setup-nat-proxy.sh. This will enable a direct, low-overhead path to your node's gRPC service, providing better latency than using NGINX.
You should be able to access this through the following command:
curl -v --http2-prior-knowledge http://<node-ip>:10000/
We use the following routing rule to directly send traffic from port 10000, a general-purpose port, to the gRPC service on 172.16.0.1:2083. This uses HTTP/2 without TLS, eliminating overhead.
iptables -t nat -A PREROUTING -i eth0 -p tcp --dport 10000 -j DNAT --to-destination 172.16.0.1:2083
WarningThe DNAT endpoint is unauthenticated, configure firewall rules to prevent unauthorized access.